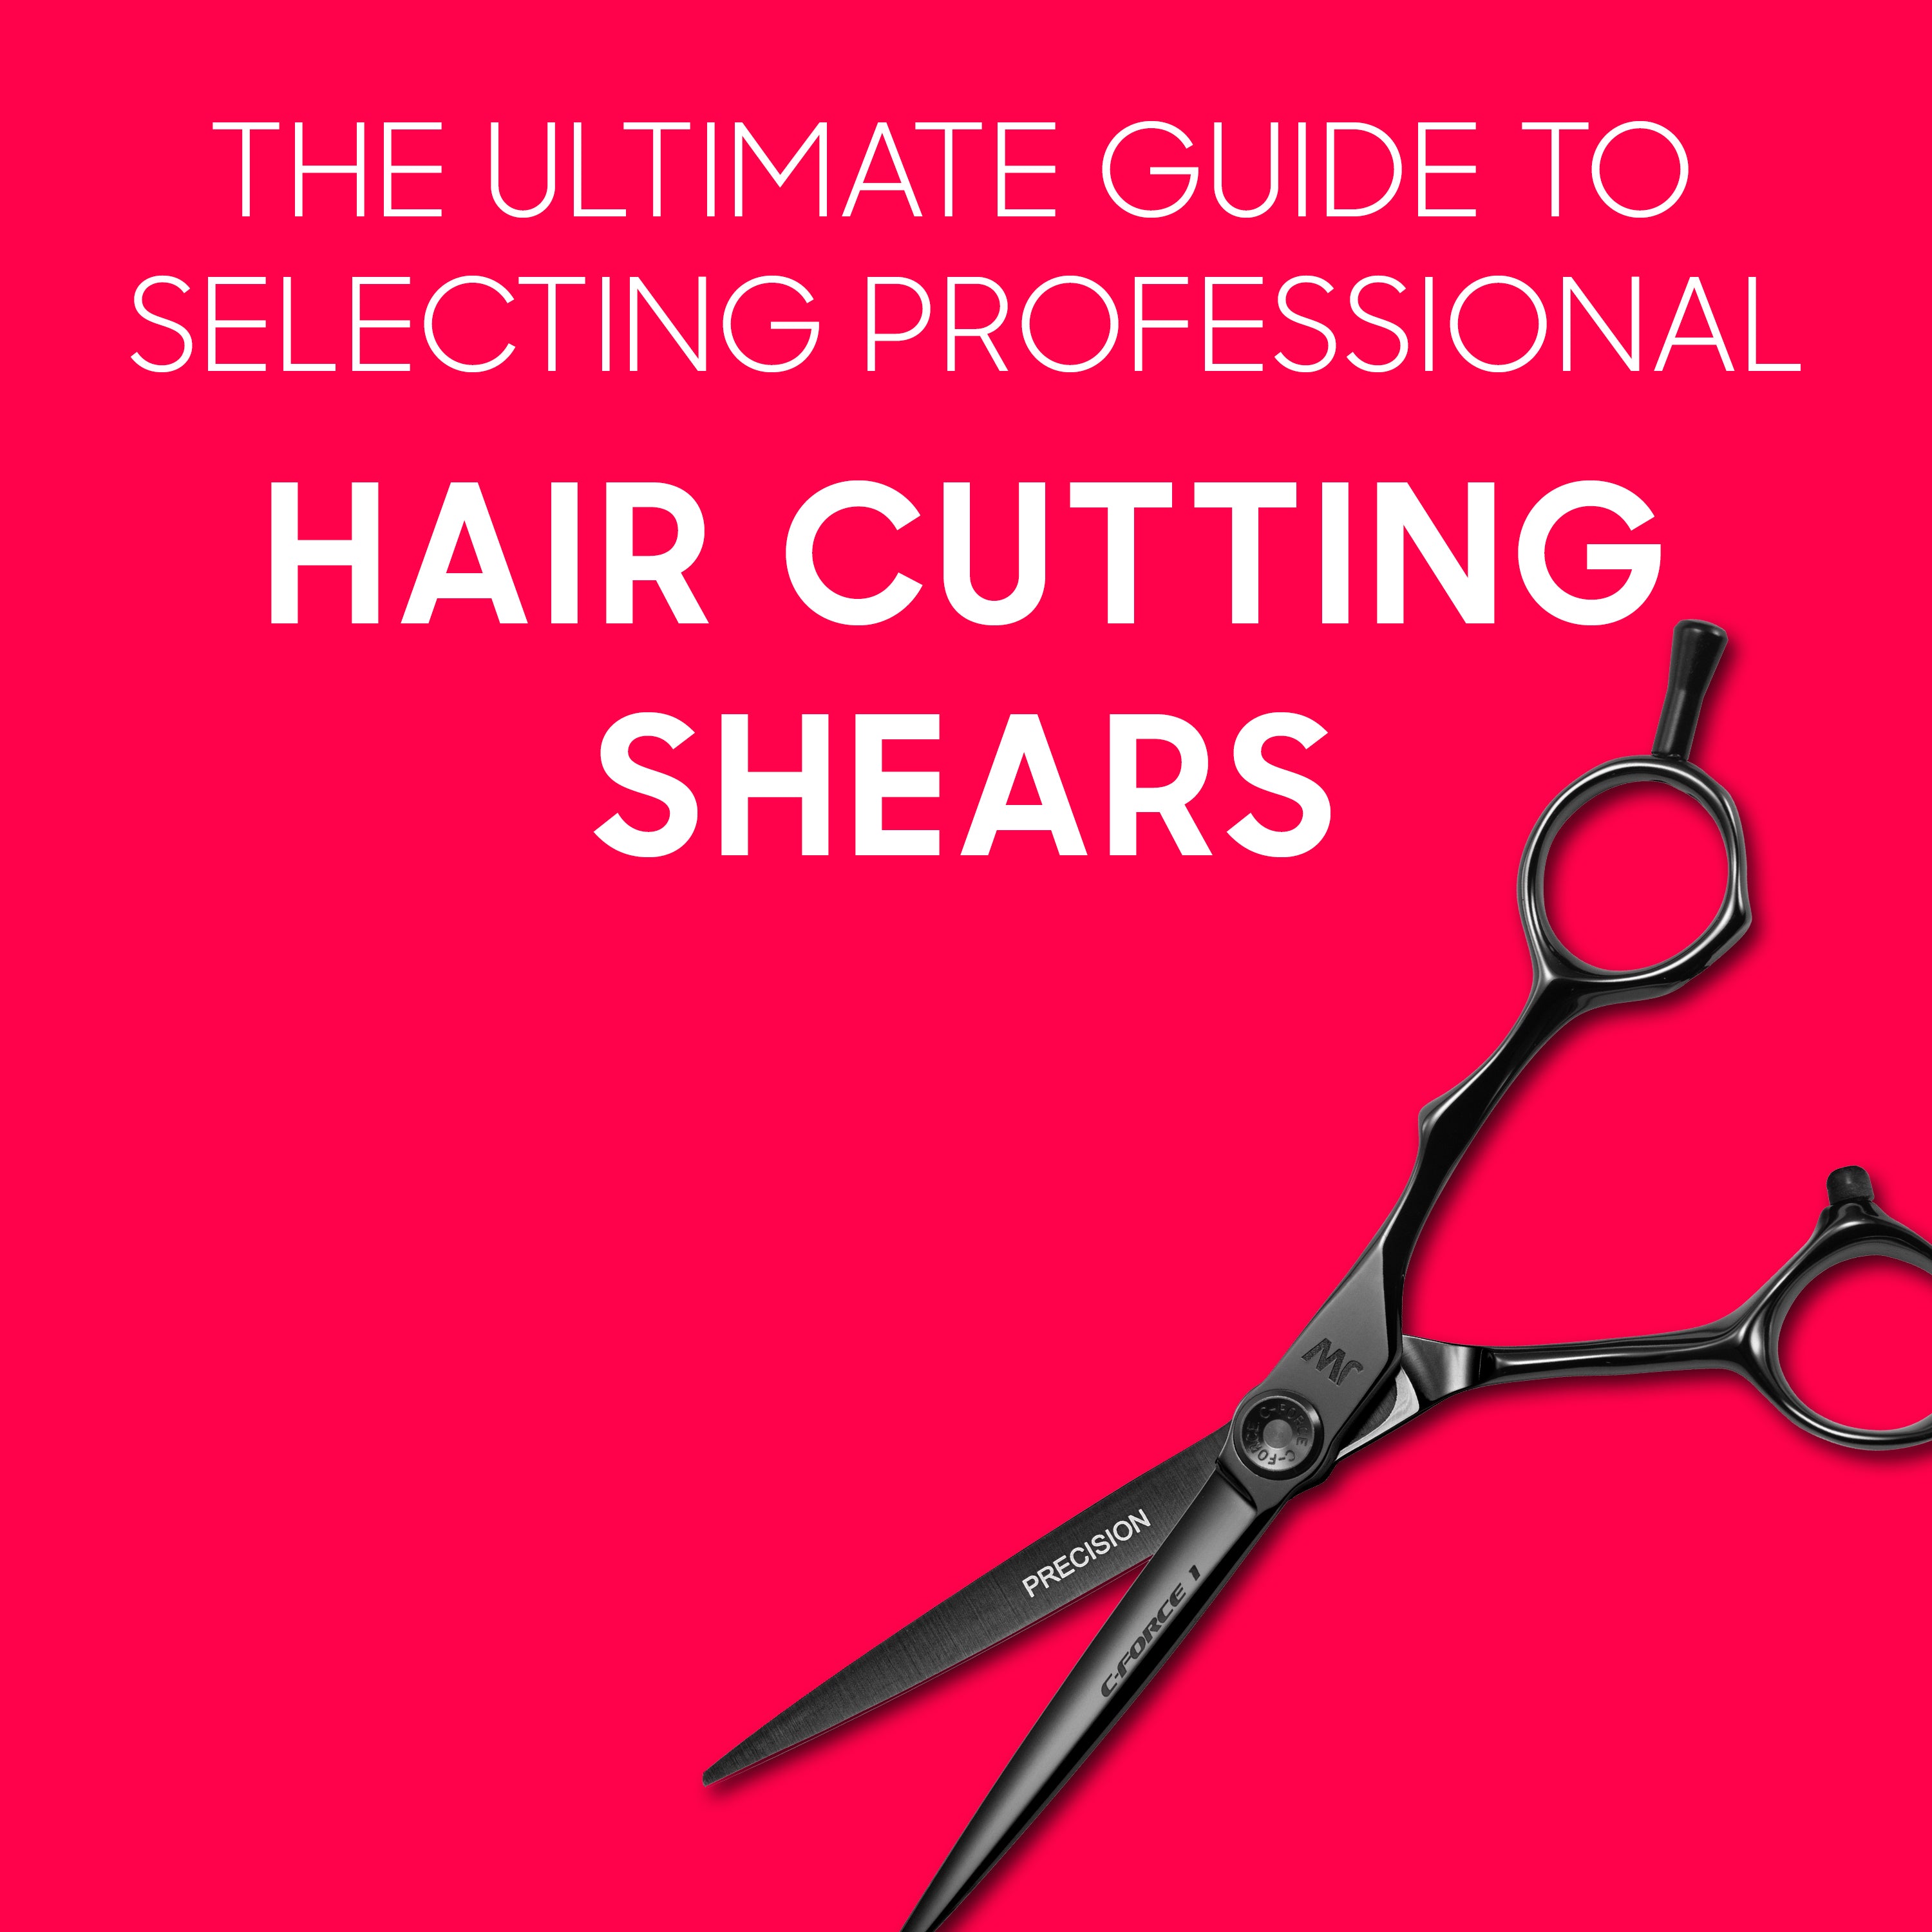
Turn Up the Heat: 2025’s Hottest Hair Trends and the Tools Behind the Style
As we step into summer of 2025, hair trends are all about dimension, texture, and effortless style. Clients want versatile looks that enhance their natural features while making bold, modern statements. Whether you’re behind the chair every day or staying ahead of the game as a salon owner, here are the top 5 hairstyle trends of 2025—complete with styling steps and tool recommendations from TriCut.com.
1. The Soft Curve Bob
The "Soft Curve Bob" is a modern take on the traditional bob, characterized by gently curved edges that create a soft, face-framing effect. It's a versatile hairstyle that complements various face shapes and hair textures.
Why It’s Trending: This low-maintenance bob hits just above the shoulder and features soft under curved ends. It flatters all face shapes and brings a sleek, healthy look to the hair.
Step-by-Step:
Step 1: Consultation and Preparation
- Hair Analysis: Assess the client's hair texture (fine, medium, thick), density (thin, medium, thick), and current length. This determines the appropriate layering techniques and tools.
- Desired Look: Discuss the desired level of shagginess—messy and textured or more refined and polished. Clarify the desired length and overall shape.
- Washing and Drying: Wash the hair with a volumizing shampoo and conditioner. Rough-dry to about 80% dry. This allows for better control during cutting.
Step 2: Sectioning and Initial Cut
- Parting: Create a center part or a side part, depending on the desired style. Section the hair into manageable quadrants (top, crown, sides, nape). Use clips to keep sections separated.
- Guide Length: Determine the shortest length in the nape area. This will be your guide length for the rest of the layers. This is usually done by cutting a small section and using it as a reference point for the remaining hair.
- Internal Layering (Crown & Sides): Start layering within the crown and side sections. Use point cutting or slide cutting techniques to create texture and movement. These techniques are essential for creating the internal layering—layers hidden within the hair, as opposed to obvious surface layers. The aim is to remove weight and create volume without creating short, choppy layers on the surface. The length of the internal layers will likely be slightly longer than the guide length, depending on the desired volume. Work towards the face, making sure the layers are blended smoothly.
Step 3: Texturizing and Refining
- Texturizing: Use texturizing shears (or razor, depending on skill level and hair type) to add further texture and movement. This removes bulk and creates choppy ends. Focus on the ends of the layers to soften them and enhance the shag.
- Blending: Blend the layers smoothly to create a seamless transition between lengths. Pay close attention to the areas where different layers meet to avoid harsh lines.
- Face-Framing: Carefully cut and style the layers around the face to create a flattering frame. Consider the client's face shape when making these adjustments.
Step 4: Styling
- Drying: Blow-dry the hair using a round brush for volume and direction. Focus on lifting the roots to add volume and create movement within the layers. You might use a diffuser attachment for added texture, especially for curly hair.
- Product Application: Apply a volumizing mousse or texturizing spray before blow-drying. After drying, add a finishing product like hairspray or texturizing paste to enhance the shag’s texture and hold.
Shears Recommendation:
-
Kasho KDM 38T Blending Shear – Ideal for blending and softening the ends.
-
JW Cobalt Force 1 Cutting Shear – Precision cutting for clean & curved lines.
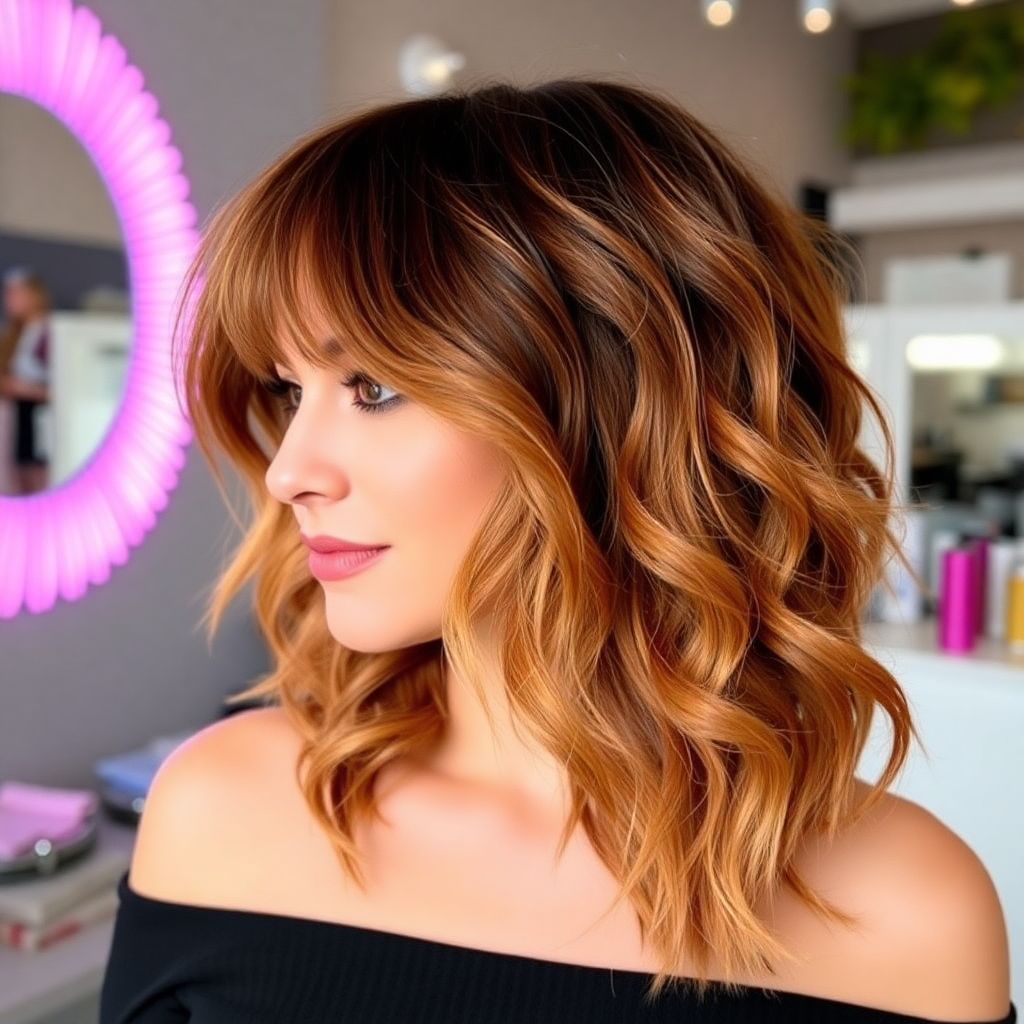
2. Internal Layered Shag
Why It’s Trending: Texture is king this year, and the 2025 shag is lighter, with more internal movement. Perfect for clients who want volume without bulk.
Step-by-Step:
Step 1: Consultation and Preparation
- Hair Analysis: Assess the client's hair texture (fine, medium, thick), density (thin, medium, thick), and current length. This determines the appropriate layering techniques and tools.
- Desired Look: Discuss the desired level of shagginess—messy and textured or more refined and polished. Clarify the desired length and overall shape.
- Washing and Drying: Wash the hair with a volumizing shampoo and conditioner. Rough-dry to about 80% dry. This allows for better control during cutting.
Step 2: Sectioning and Initial Cut
- Parting: Create a center part or a side part, depending on the desired style. Section the hair into manageable quadrants (top, crown, sides, nape). Use clips to keep sections separated.
- Guide Length: Determine the shortest length in the nape area. This will be your guide length for the rest of the layers. This is usually done by cutting a small section and using it as a reference point for the remaining hair.
- Internal Layering (Crown & Sides): Start layering within the crown and side sections. Use point cutting or slide cutting techniques to create texture and movement. These techniques are essential for creating the internal layering—layers hidden within the hair, as opposed to obvious surface layers. The aim is to remove weight and create volume without creating short, choppy layers on the surface. The length of the internal layers will likely be slightly longer than the guide length, depending on the desired volume. Work towards the face, making sure the layers are blended smoothly.
Step 3: Texturizing and Refining
- Texturizing: Use texturizing shears (or razor, depending on skill level and hair type) to add further texture and movement. This removes bulk and creates choppy ends. Focus on the ends of the layers to soften them and enhance the shag.
- Blending: Blend the layers smoothly to create a seamless transition between lengths. Pay close attention to the areas where different layers meet to avoid harsh lines.
- Face-Framing: Carefully cut and style the layers around the face to create a flattering frame. Consider the client's face shape when making these adjustments.
Step 4: Styling
- Drying: Blow-dry the hair using a round brush for volume and direction. Focus on lifting the roots to add volume and create movement within the layers. You might use a diffuser attachment for added texture, especially for curly hair.
- Product Application: Apply a volumizing mousse or texturizing spray before blow-drying. After drying, add a finishing product like hairspray or texturizing paste to enhance the shag’s texture and hold.

Shears Recommendation:
-
Kamisori Diablo II Thinning Shear – Great for internal weight removal.
-
JW Cobalt Force 5 Slide Cutting Shear – Perfect for controlled slide-cutting and soft layers.
3. The Fringe Revival
Why It’s Trending: Bangs are back, but they’re modernized—think wispy curtain fringes and soft bottleneck shapes that frame the eyes and cheekbones.

Step-by-Step:
Option 1: The Curtain Bangs Revival
This style features long, parted bangs that frame the face.
Step 1: Consultation and Preparation
- Hair Analysis: Assess hair texture, density, and overall length. Curtain bangs work best with medium to long hair, but can be adapted for shorter lengths.
- Desired Length and Part: Determine the desired length of the bangs (typically below the eyebrows or cheekbone level) and whether to have a center part or an off-center part.
- Washing and Drying: Wash and condition hair. Rough-dry to about 80% dry.
Step 2: Sectioning and Cutting
- Sectioning: Create a triangular section of hair at the front of the head, starting from the top of the forehead and extending down to the desired length. The width of this section will determine the fullness of the bangs.
- Cutting: Using your fingers or a comb, gather the section and hold it taut. Cut the section straight across to the desired length, using a slightly angled cut to create a softer edge, not a blunt line.
- Texturizing: Use texturizing shears to thin out the bangs if they're too thick. This creates movement and avoids a heavy look.
- Parting: Part the bangs in the center or to the side as desired.
Step 3: Styling
- Drying: Blow-dry the bangs, using a small round brush to create a slight bend and volume.
- Product Application: Apply a light styling product (e.g., hairspray or texturizing cream) to hold the style in place.
Option 2: The Blunt Fringe Revival
This style features a straight-across, blunt fringe.
Steps are similar to Option 1, with these key differences:
- Cutting: Cut the section straight across for a blunt effect, not angled. Precision is crucial here.
- Texturizing: Might not need as much texturizing as curtain bangs, depending on hair thickness.
- Styling: Blow-dry straight or use a flat iron for a super-smooth finish.
Option 3: The Wispy Fringe Revival
This style features soft, wispy bangs that are less structured.
Steps are similar to Option 1, with these key differences:
- Cutting: Use point-cutting techniques to create wispy ends. The bangs should be cut in layers rather than one solid line.
- Texturizing: More texturizing may be needed.
- Styling: Air-dry or use a diffuser attachment to enhance the wispy texture.
General Considerations for all Fringe Revivals:
- Face Shape: Consider your face shape when choosing a fringe style.
- Hair Texture: Hair texture influences how the fringe will fall and hold its style.
- Maintenance: Fringes require regular maintenance (trimming) to keep their shape.
Shears Recommendation:
-
Nic STS Shear – Designed for precise, small-area cuts like fringes.
-
Kyoto GJ 40 Blending Shear – Great for blending fringe into surrounding hair.
4. Airy Long Layers
Why It’s Trending: Clients are moving away from heavy, dense lengths in favor of layers that offer airiness and swing—perfect for long hair lovers who want more movement.
Step-by-Step:
Step 1: Consultation and Preparation
- Hair Analysis: Assess the client's hair texture (fine, medium, thick), density (thin, medium, thick), and current length. This dictates the best layering techniques and tools. Fine hair may require less layering to avoid losing volume.
- Desired Look: Discuss the desired level of layering – subtle movement or a more dramatic, layered look. Clarify the desired length.
- Washing and Conditioning: Wash and condition the hair. Rough-dry to about 80% dry for better control during cutting.
Step 2: Sectioning and Cutting
- Parting: Create a center part or a side part, depending on preference. Divide the hair into vertical sections. Use clips to keep sections separate.
- Guide Length: This is usually determined by the length the client wants to maintain at the front or longest point of the hair. This section is not layered.
- Layering (Crown & Back): Starting from the crown area, take relatively thin vertical sections. The size of the section will determine the size of the layers (smaller sections= more layers). Elevate each section slightly away from the head (about 45 degrees) to create lift and avoid cutting the length too short. Use long point cutting or slide cutting techniques. Point cutting creates textured ends, while slide cutting creates softer, more blended layers. Cut the ends of the section, gradually removing weight and creating subtle layers. Repeat for the back section. Remember, the goal is to create soft layers, not short choppy ones. Use the already cut layers as guides as you move to the lower sections.
- Blending: As you move to the lower sections, ensure the layers blend seamlessly with the upper layers. Avoid creating harsh lines or visible layers that look choppy.
Step 3: Refining and Texturizing (Optional)
- Thinning: If the hair is particularly thick, you can use thinning shears to remove bulk and reduce weight without significantly shortening the length. Use this sparingly to avoid creating a wispy effect.
- Texturizing: Point cutting or slide cutting can be employed throughout the process and at the ends to create added texture and movement.
Step 4: Styling
- Drying: Blow-dry the hair, using a large round brush to add volume and shape to the layers. Focus on lifting the roots to add fullness. A diffuser attachment on the hairdryer can enhance the airy texture, especially for curly or wavy hair.
- Product Application: Apply a volumizing mousse or a light-hold texturizing spray before blow-drying to create volume and texture. A light-hold hairspray can be used to finish the style and maintain the airy look.
Important Considerations:
- Hair Type: Fine hair needs gentler layering than thick hair.
- Layer Length: The longer the layers, the more subtle the effect.
- Blending is Key: The success of airy long layers hinges on seamlessly blending the layers.

Shears Recommendation:
-
Kamisori Diablo II Set – Shear & thinner kit providing perfect balance for interior and perimeter layering.
-
JW L Series Set – Light debulking for soft transitions.
5. Modern Pixie Crop
Why It’s Trending: The pixie is no longer just edgy—it’s chic, confident, and versatile. This year’s version combines undercut sides with long, feathered tops.

Step-by-Step:
Option 1: The Curtain Bangs Revival
This style features long, parted bangs that frame the face.
Step 1: Consultation and Preparation
- Hair Analysis: Assess hair texture, density, and overall length. Curtain bangs work best with medium to long hair, but can be adapted for shorter lengths.
- Desired Length and Part: Determine the desired length of the bangs (typically below the eyebrows or cheekbone level) and whether to have a center part or an off-center part.
- Washing and Drying: Wash and condition hair. Rough-dry to about 80% dry.
Step 2: Sectioning and Cutting
- Sectioning: Create a triangular section of hair at the front of the head, starting from the top of the forehead and extending down to the desired length. The width of this section will determine the fullness of the bangs.
- Cutting: Using your fingers or a comb, gather the section and hold it taut. Cut the section straight across to the desired length, using a slightly angled cut to create a softer edge, not a blunt line.
- Texturizing: Use texturizing shears to thin out the bangs if they're too thick. This creates movement and avoids a heavy look.
- Parting: Part the bangs in the center or to the side as desired.
Step 3: Styling
- Drying: Blow-dry the bangs, using a small round brush to create a slight bend and volume.
- Product Application: Apply a light styling product (e.g., hairspray or texturizing cream) to hold the style in place.
Option 2: The Blunt Fringe Revival
This style features a straight-across, blunt fringe.
Steps are similar to Option 1, with these key differences:
- Cutting: Cut the section straight across for a blunt effect, not angled. Precision is crucial here.
- Texturizing: Might not need as much texturizing as curtain bangs, depending on hair thickness.
- Styling: Blow-dry straight or use a flat iron for a super-smooth finish.
Option 3: The Wispy Fringe Revival
This style features soft, wispy bangs that are less structured.
Steps are similar to Option 1, with these key differences:
- Cutting: Use point-cutting techniques to create wispy ends. The bangs should be cut in layers rather than one solid line.
- Texturizing: More texturizing may be needed.
- Styling: Air-dry or use a diffuser attachment to enhance the wispy texture.
General Considerations for all Fringe Revivals:
- Face Shape: Consider your face shape when choosing a fringe style.
- Hair Texture: Hair texture influences how the fringe will fall and hold its style.
- Maintenance: Fringes require regular maintenance (trimming) to keep their shape.
Shears Recommendation:
-
Jonetsu JP Shear – For feathered top layers and soft perimeter.
-
Matsuzaki Black Titanium – Versatile shear ideal for shaping and clean outlines.
Final Thoughts
Summer of 2025 is all about fluid movement, precise texture, and customized shapes. The right technique and the right tools make all the difference. Invest in high-quality shears from TriCut.com to elevate your cuts and keep clients coming back.
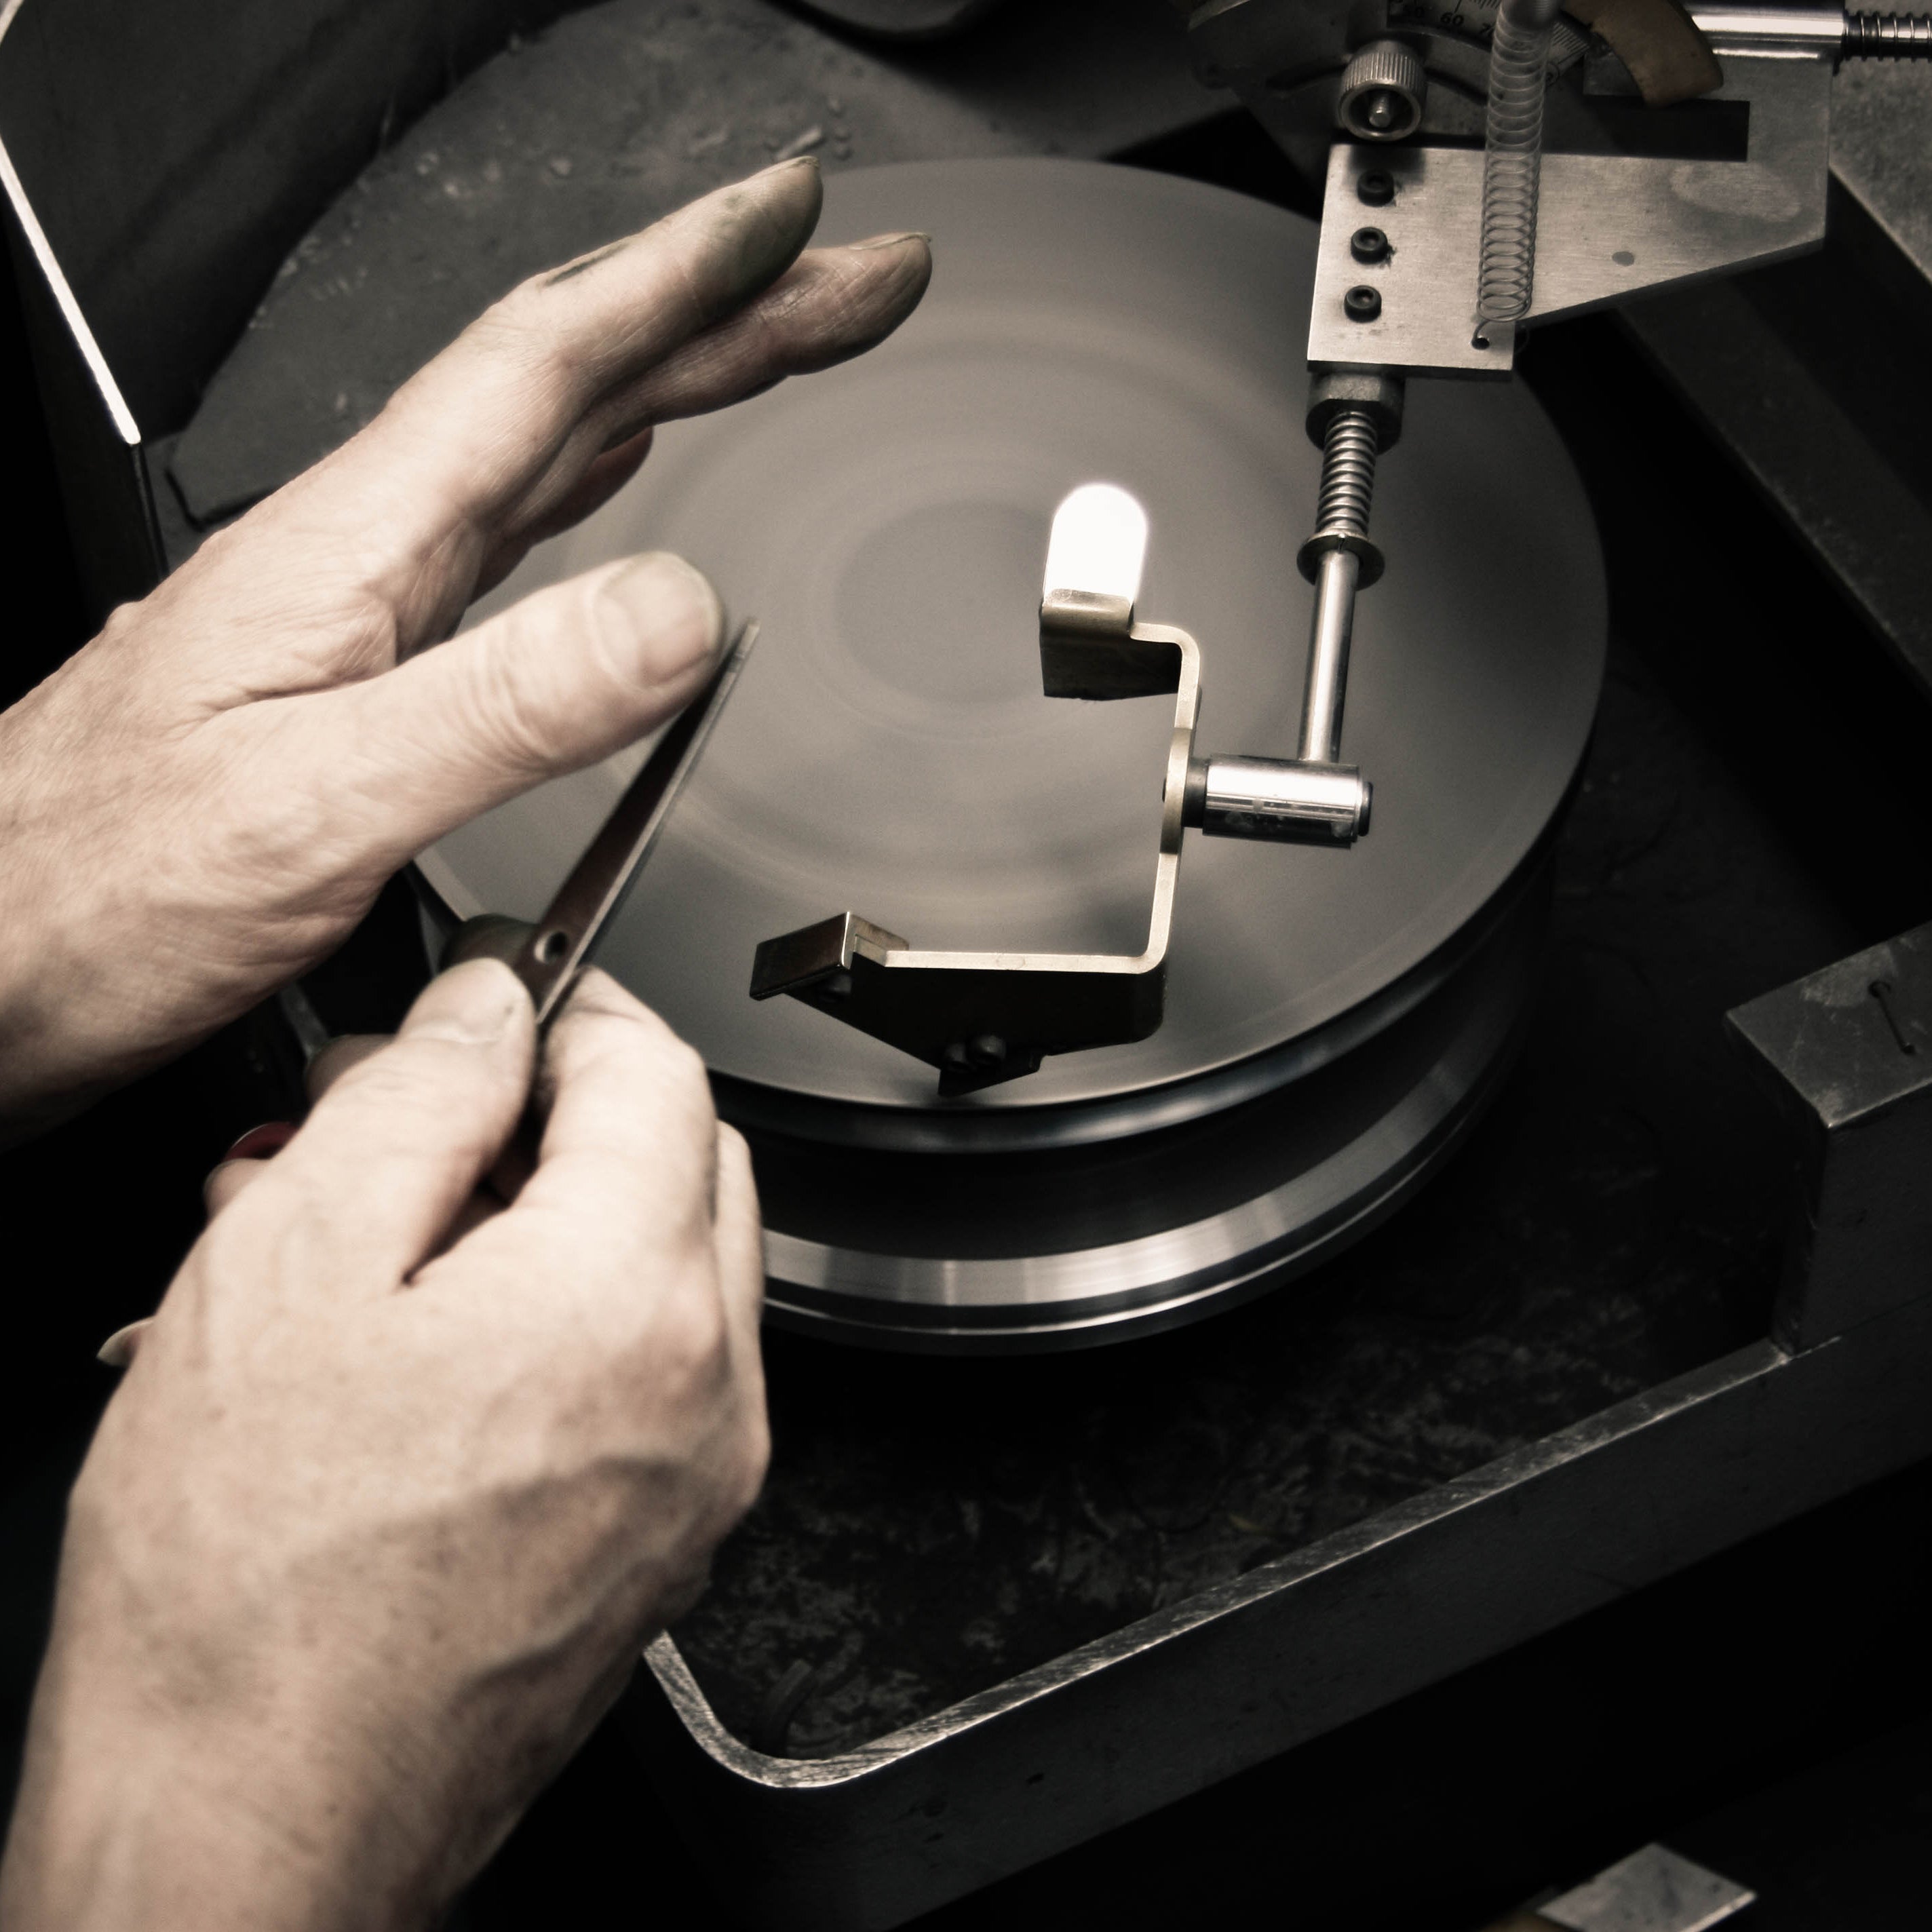
Pro Tip: Keep your shears sharpened and rotate between models to reduce fatigue and maintain performance.
Written by Tricut Shears
Leave a comment
This site is protected by hCaptcha and the hCaptcha Privacy Policy and Terms of Service apply.